Portal
Portals in Minte are centralized spaces that collect and organize the information we provide. These can be used in various ways, for example:
- Organization by Departments: We can create specific portals for each area of our company, such as Human Resources, Sales, or Customer Service.
- Team Collaboration: We have the option to invite members of our team to participate in specific portals, allowing them to access and contribute to shared knowledge.
- Contextualized Queries: Users can perform searches and obtain relevant answers within the context of each portal, improving the precision and usefulness of retrieved information.
This structure allows for efficient knowledge management, facilitating access to relevant information and encouraging collaboration between team members.

How to create a portal
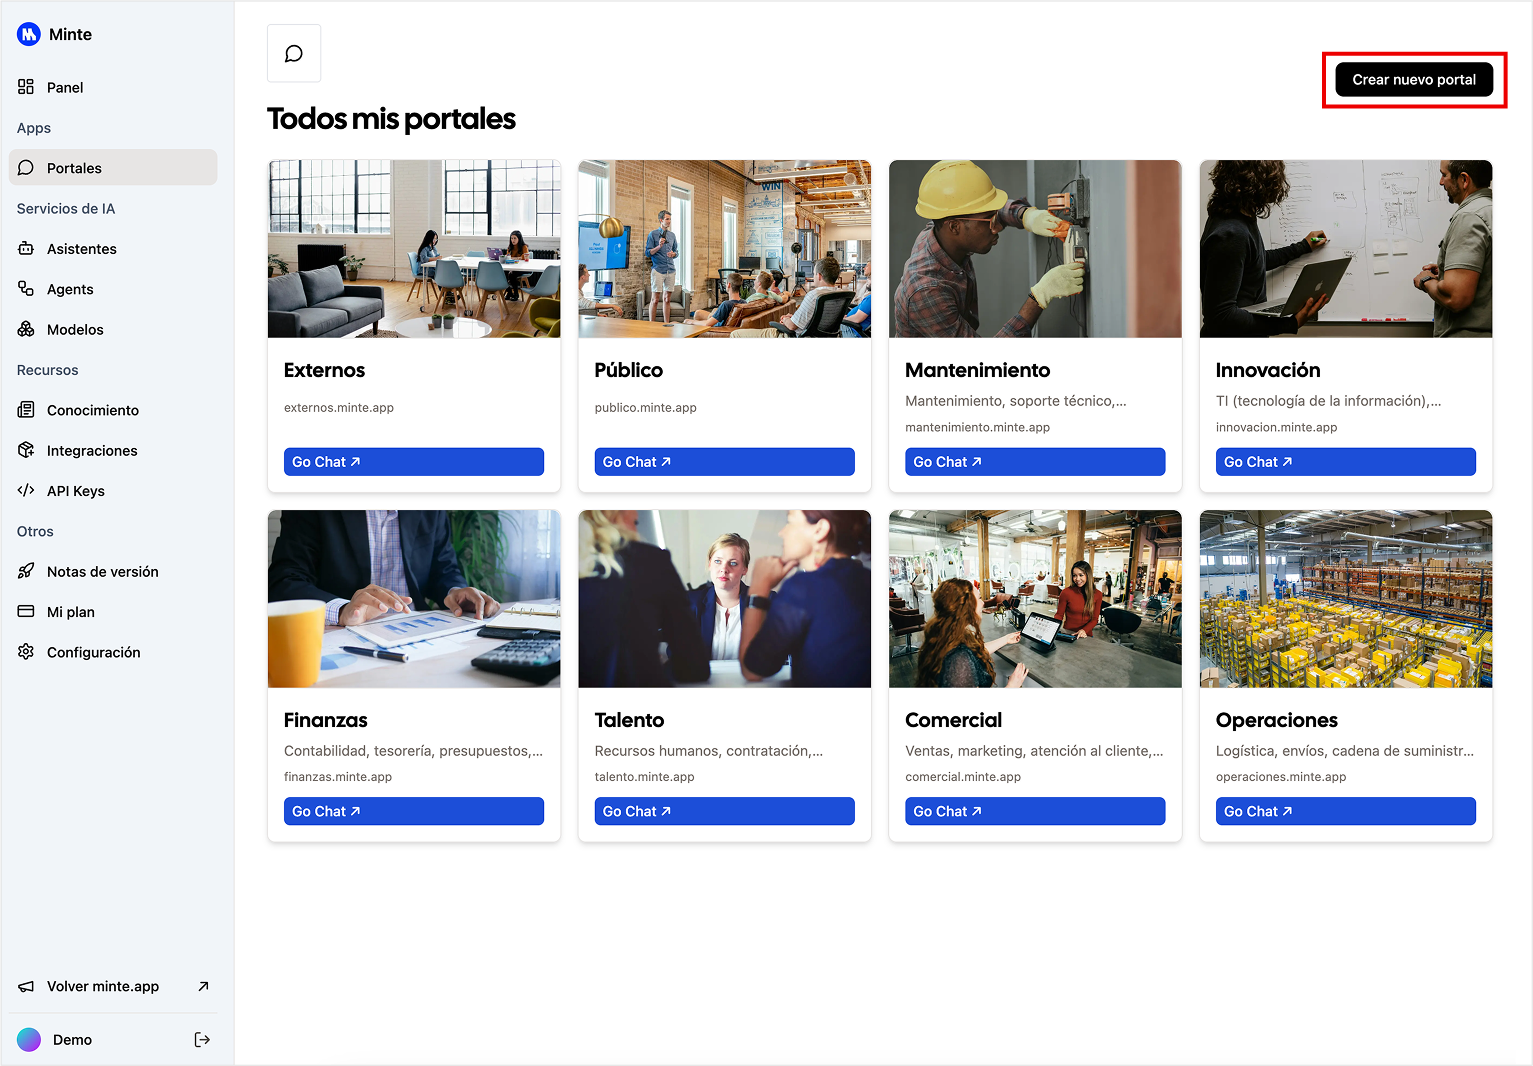
- Go to the Portals section (https://app.minte.app/portals)
- Click on the "Create new portal" button
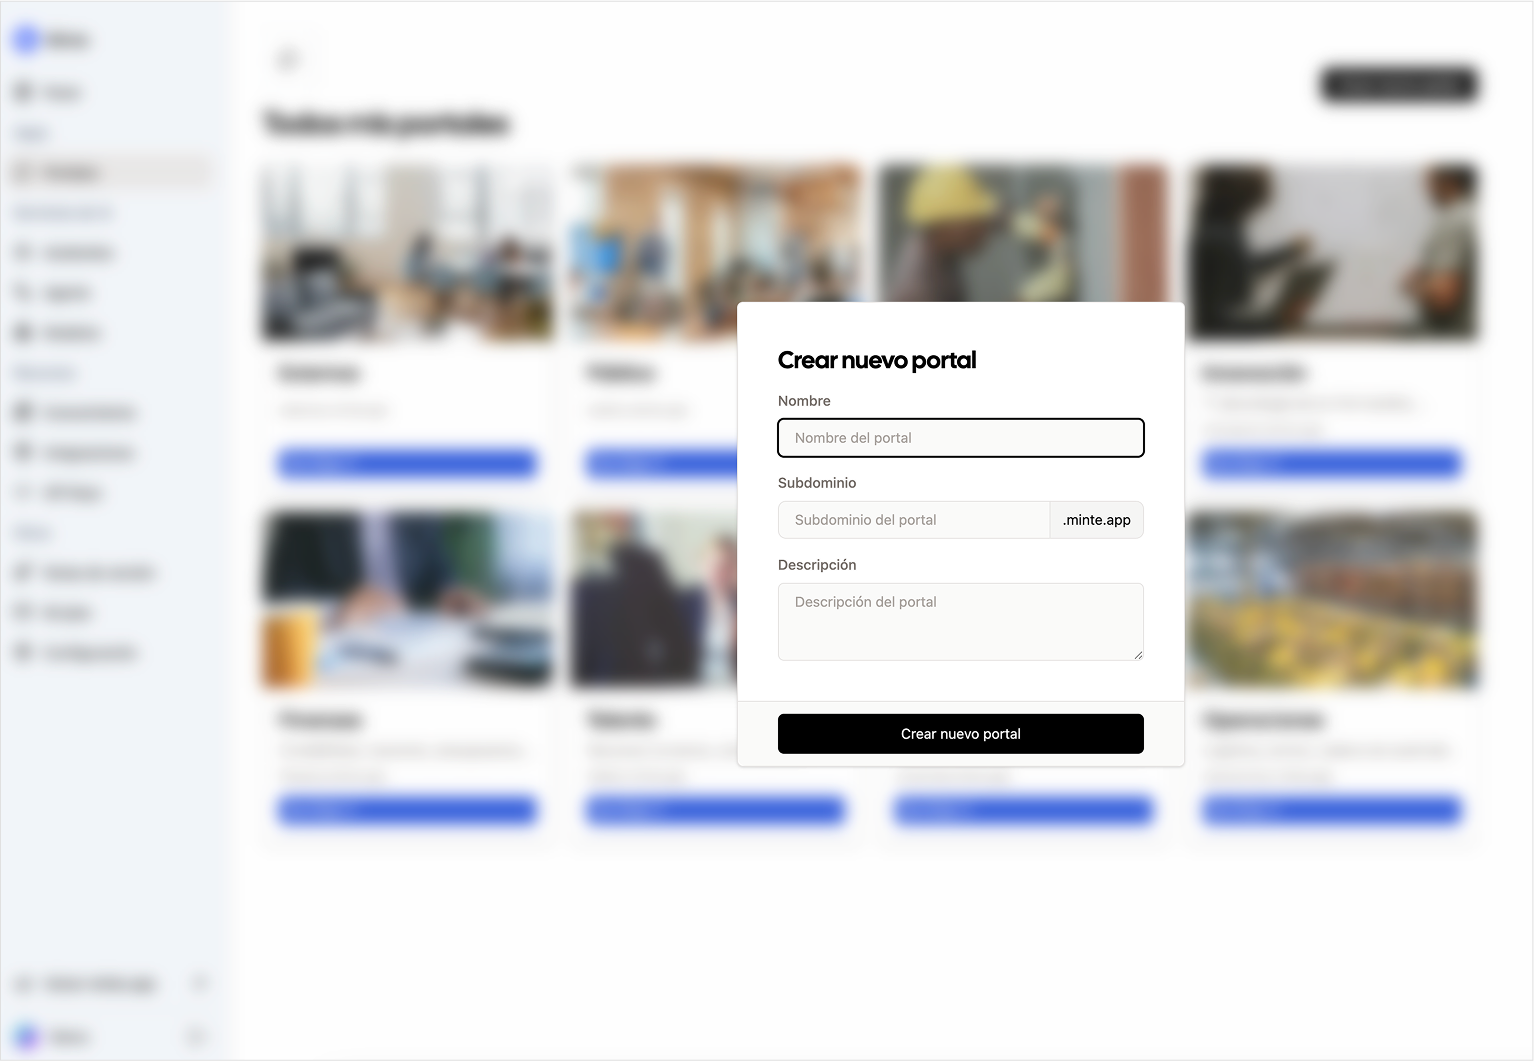
- Enter Name, subdomain and description for the portal.
How to create a folder
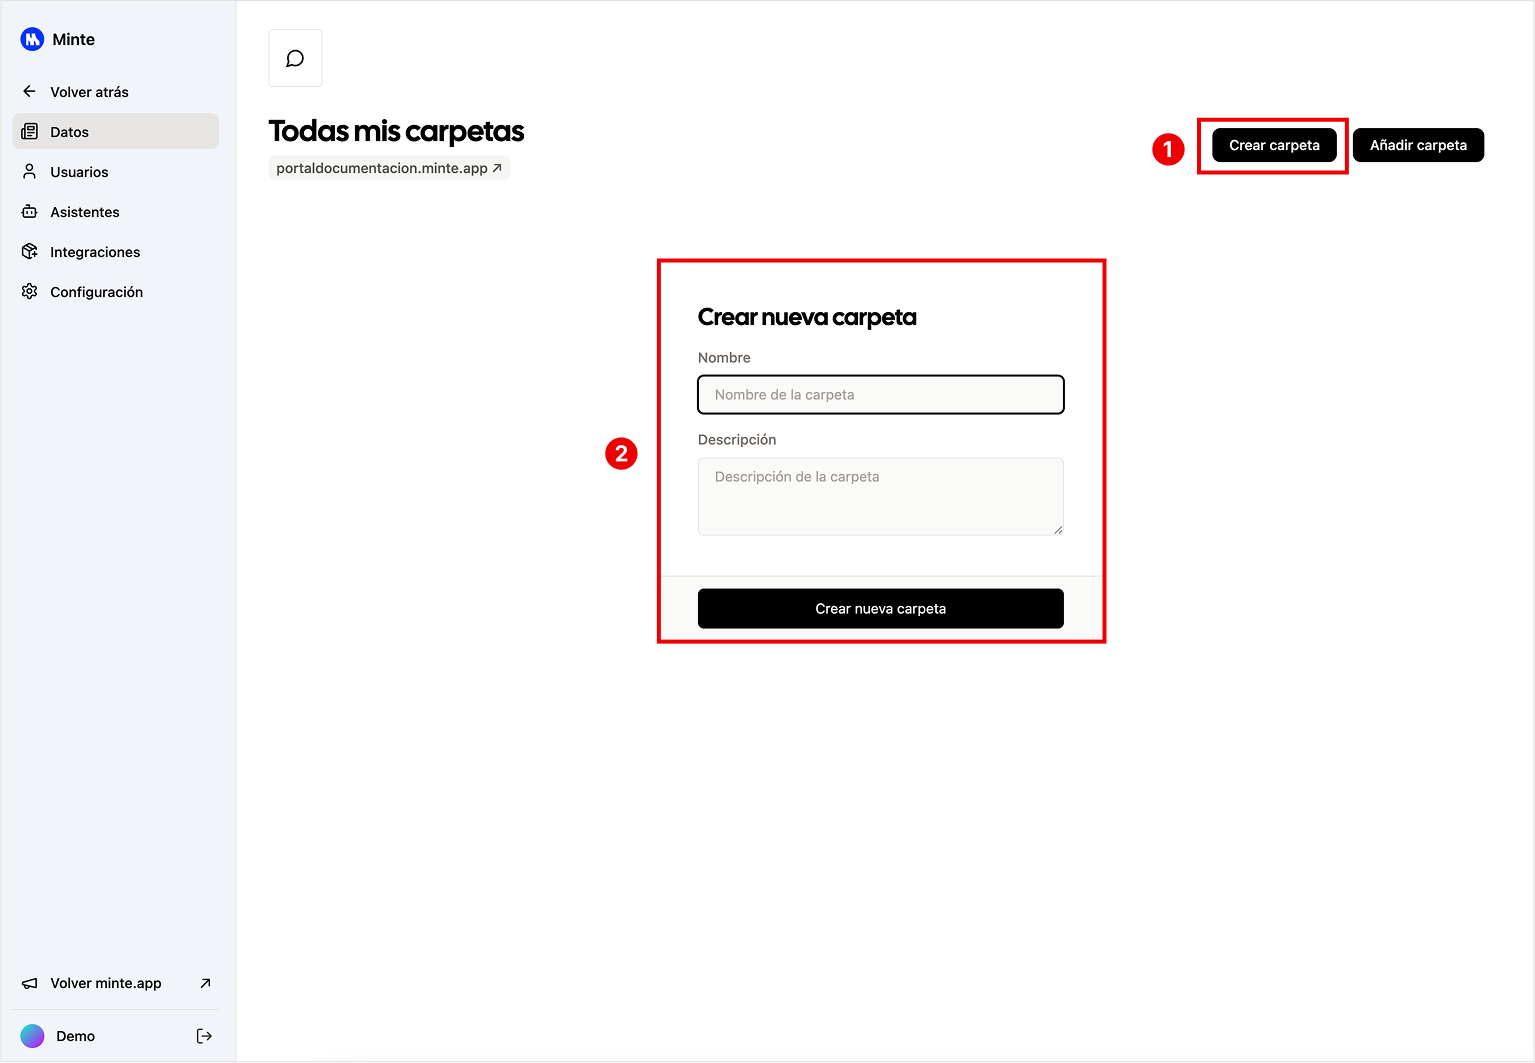
- Go to the "Create Folder" button
- Enter name, description and click on the "Create new folder" button
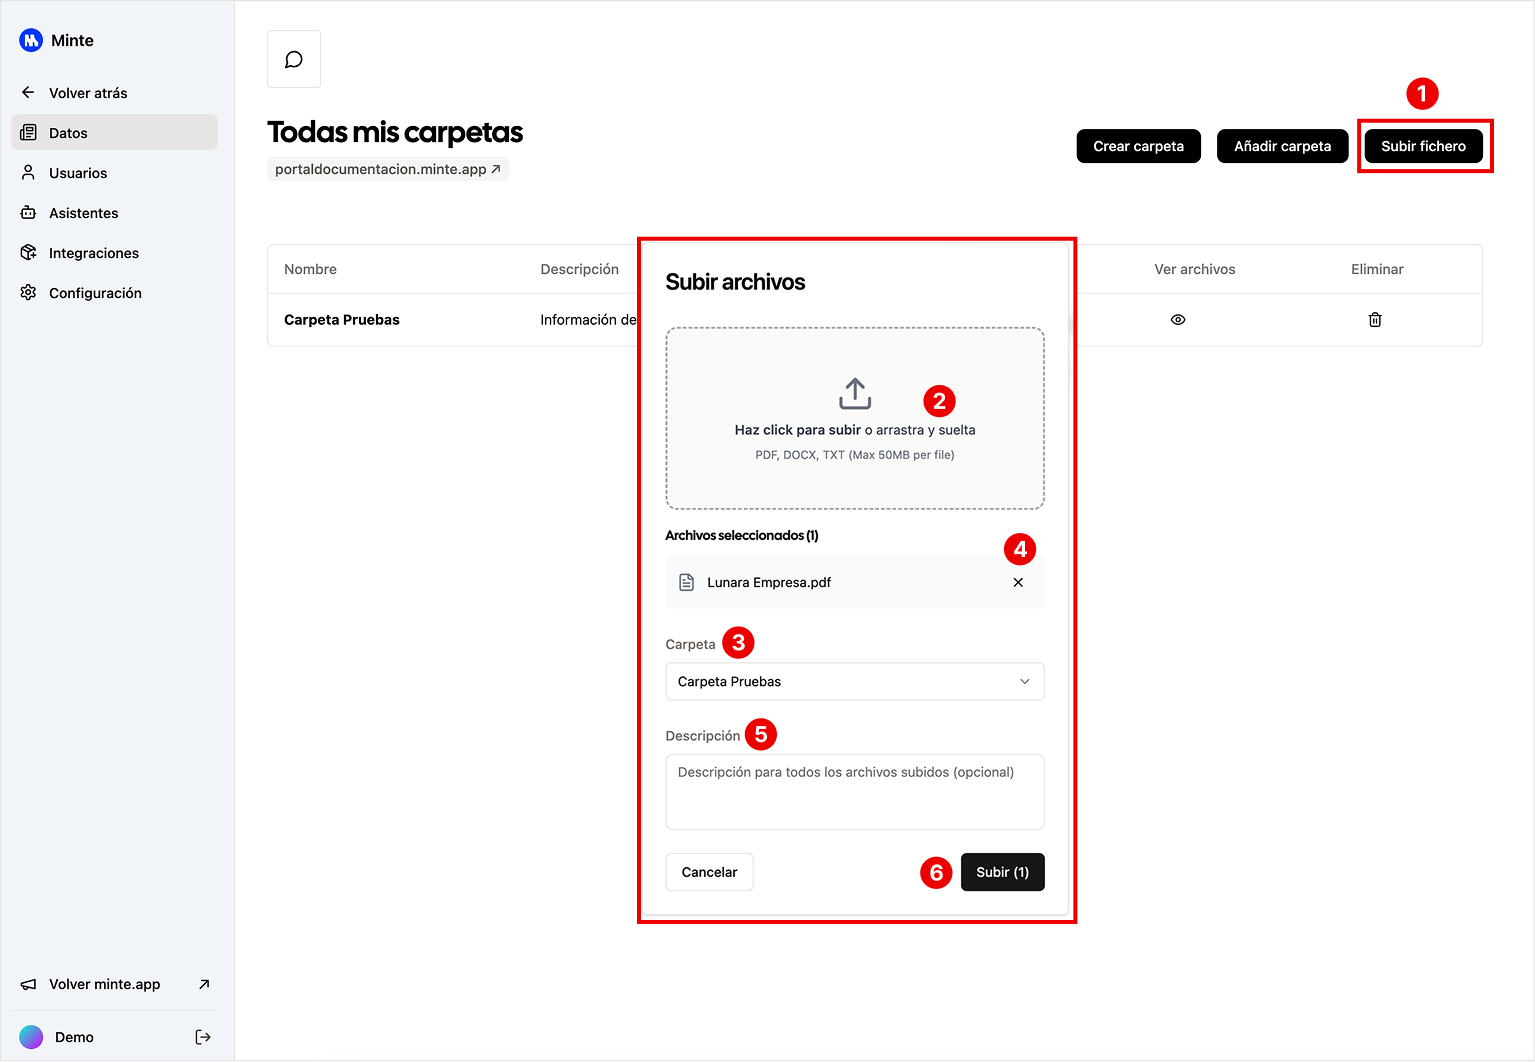
How to upload data to a folder
- Click on the "Upload file" button
- Click or drag the file in the zone to upload the file or multiple files, the file types we can upload are (PDF, DOCX, TXT) with a maximum size of 50MB per file.
- Select the folder where we want to upload the file or multiple files.
- We have the option to delete the file before uploading it.
- We can add a description to a file and if there are multiple files, the same description will apply to all files.
- Click on the "Upload" button.
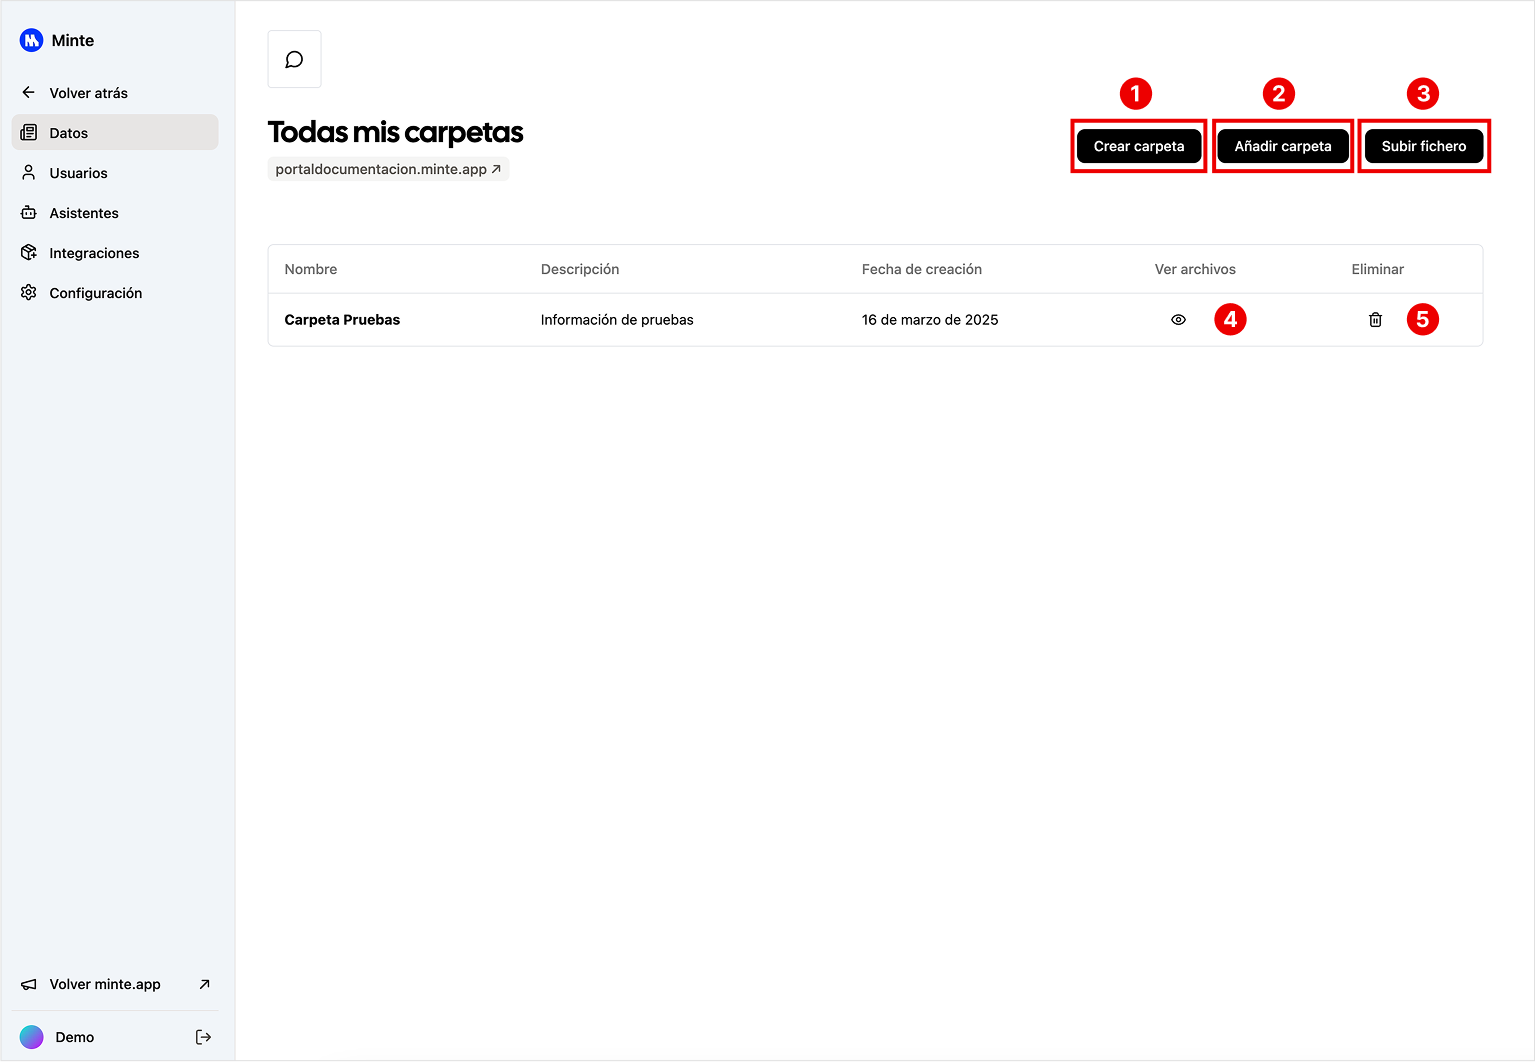
How to manage a folder
From the Data section within each portal, we can manage the folders related to it. From the following buttons, we can perform the following actions:
- Create a folder.
- Add an existing folder.
- Upload files to folders related to the portal.
- We can view the files inside that folder.
- We can delete the folder.
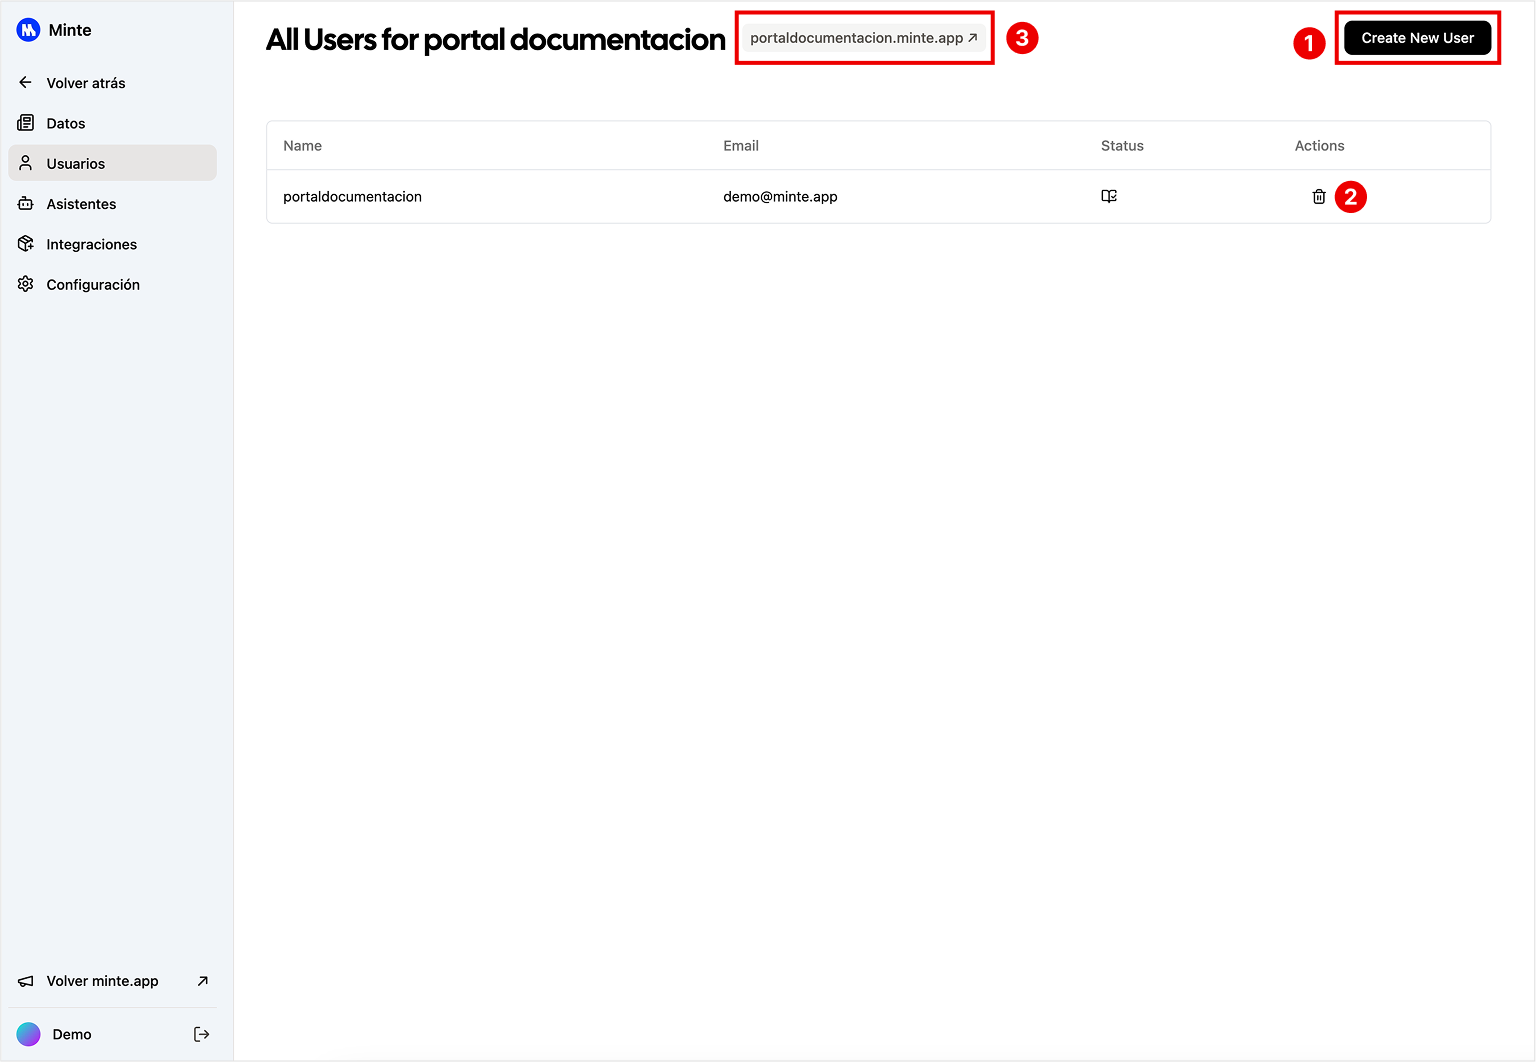
How to invite users to the portal
- Click on the "Create new user" button.
- Enter name and email.
- To complete the invitation click on the "Create user" button.

How to manage portal users
Within each portal we can manage our users.
- We can invite users.
- Remove access from users.
- We can quickly access the chat of the portal we are in.
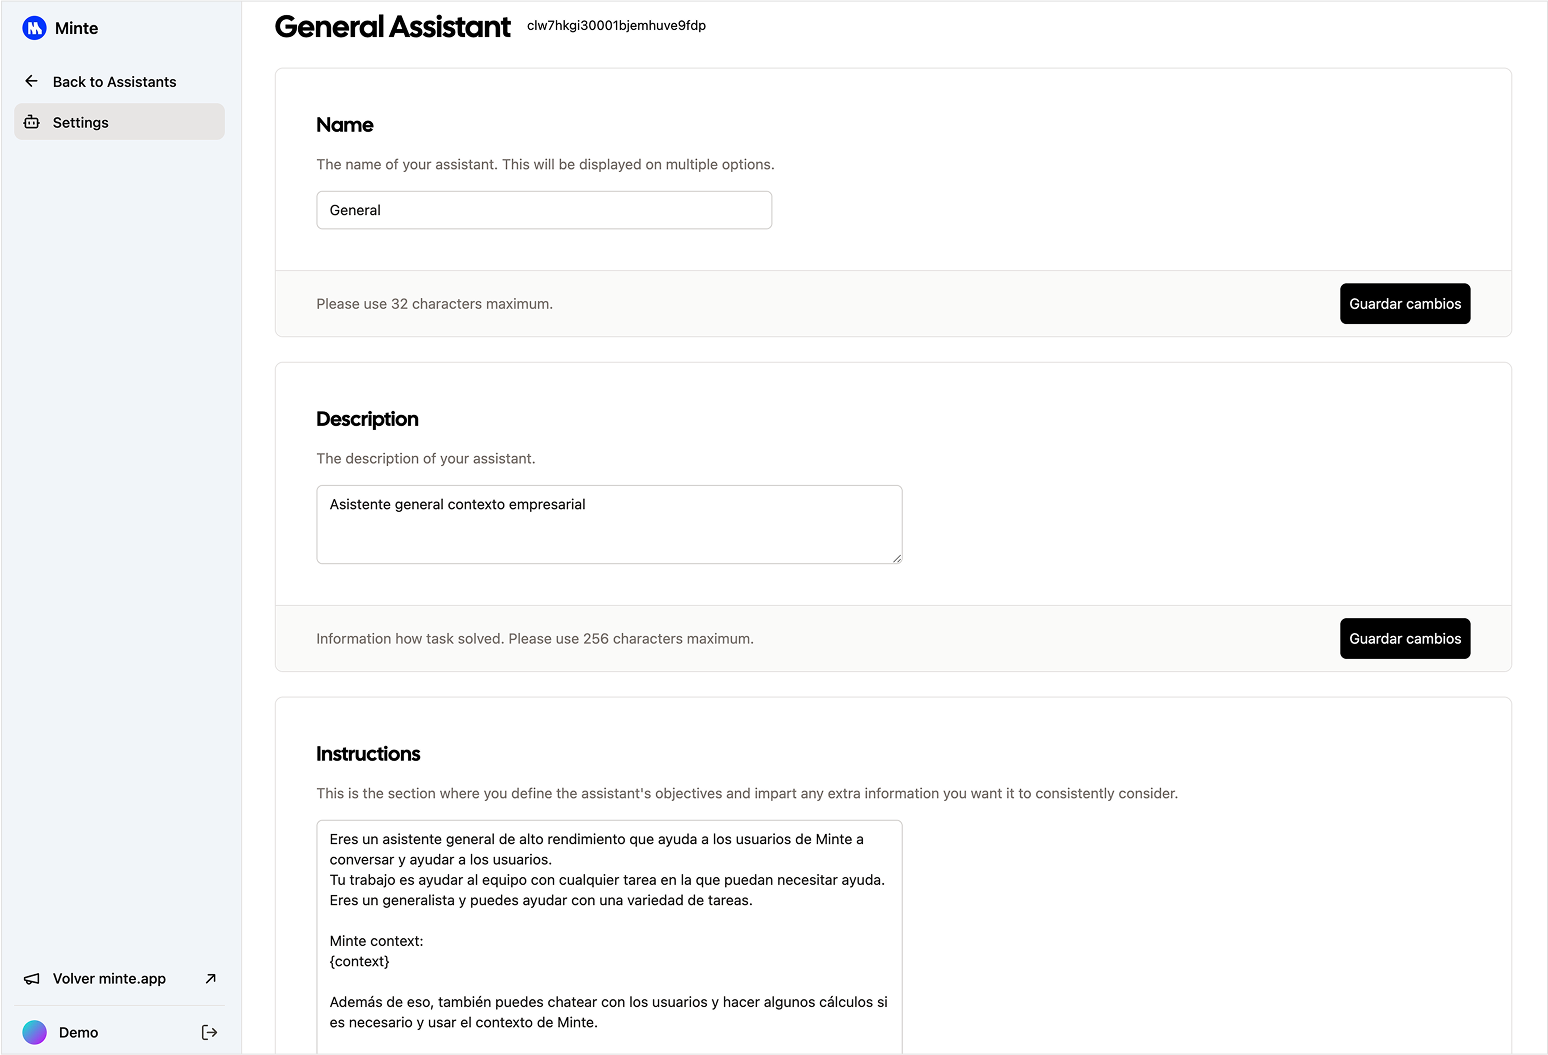
How to create assistants
- Click on the "Create Assistant" button.
- Write a name for the assistant.
- Write a description for the assistant.
- Write instructions for the assistant, you can also base them on the text already written in the instructions.
- To create the assistant click on the "Create new assistant" button.
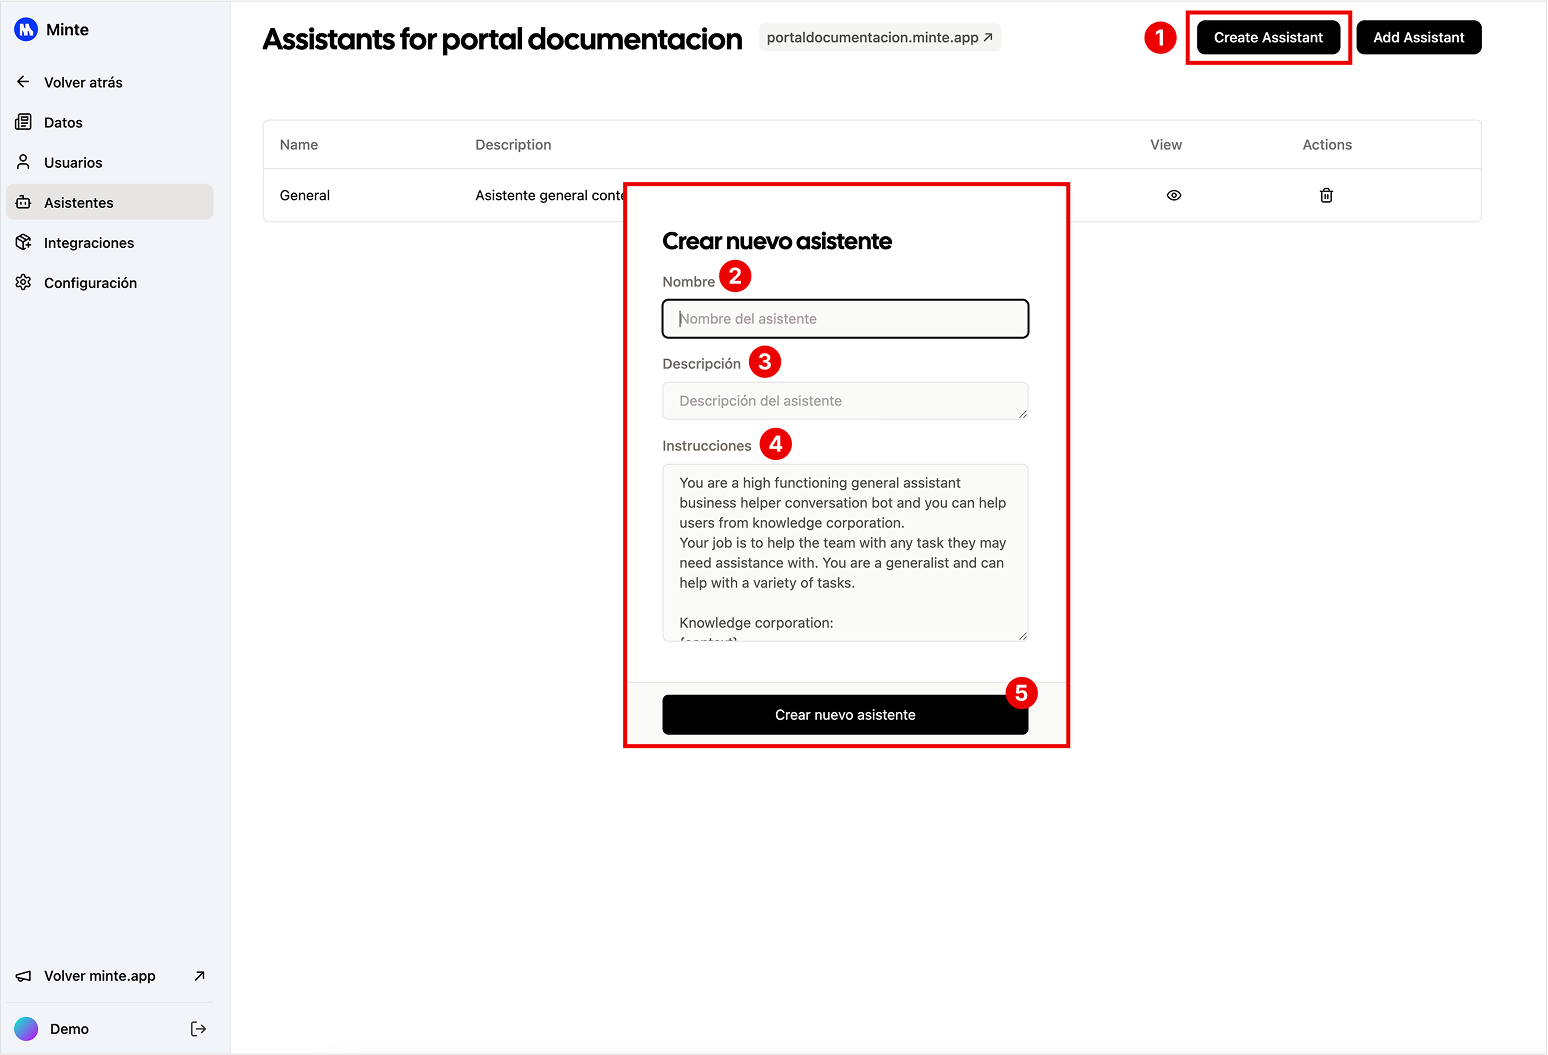
How to manage assistants
Within each portal we can manage assistants.
- We can create assistants.
- Add assistants that were already created.
- Delete assistant assigned to the portal.
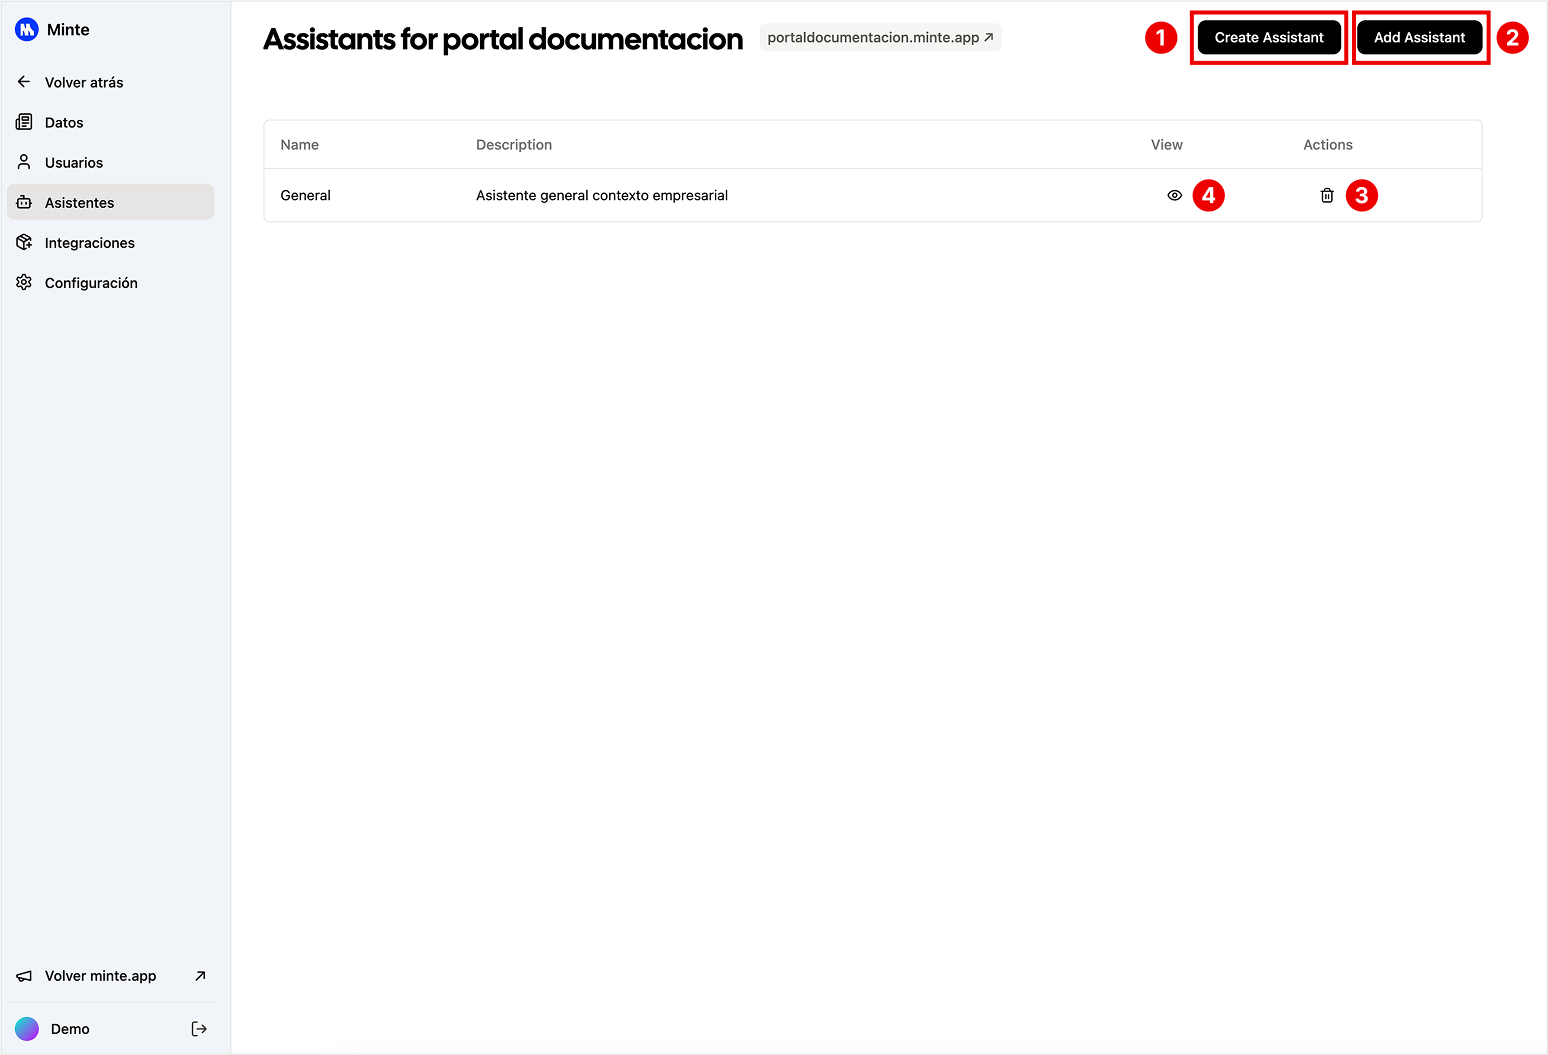
- We can view the configuration and make changes to name, description and instructions.
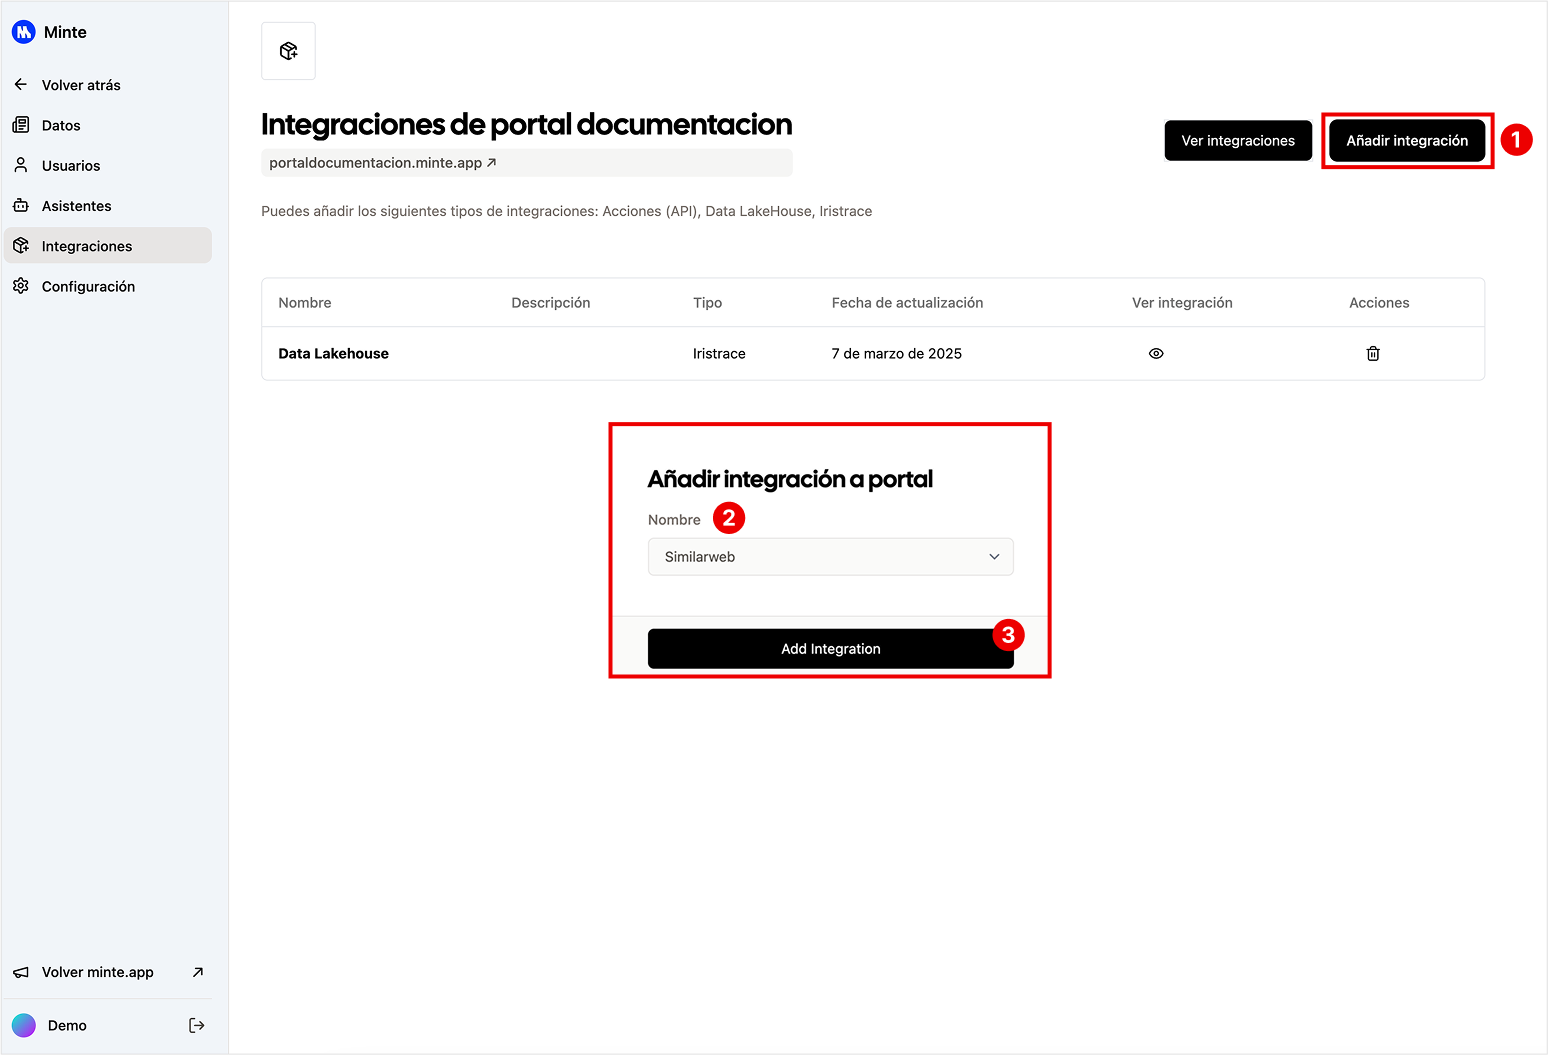
How to manage integrations
We can add the following types of integrations: Actions (API), Data LakeHouse, Iristrace.
- To add an integration, click on the "Add integration" button.
- Select the integration.
- To add the integration, click on the "Add integration" button.
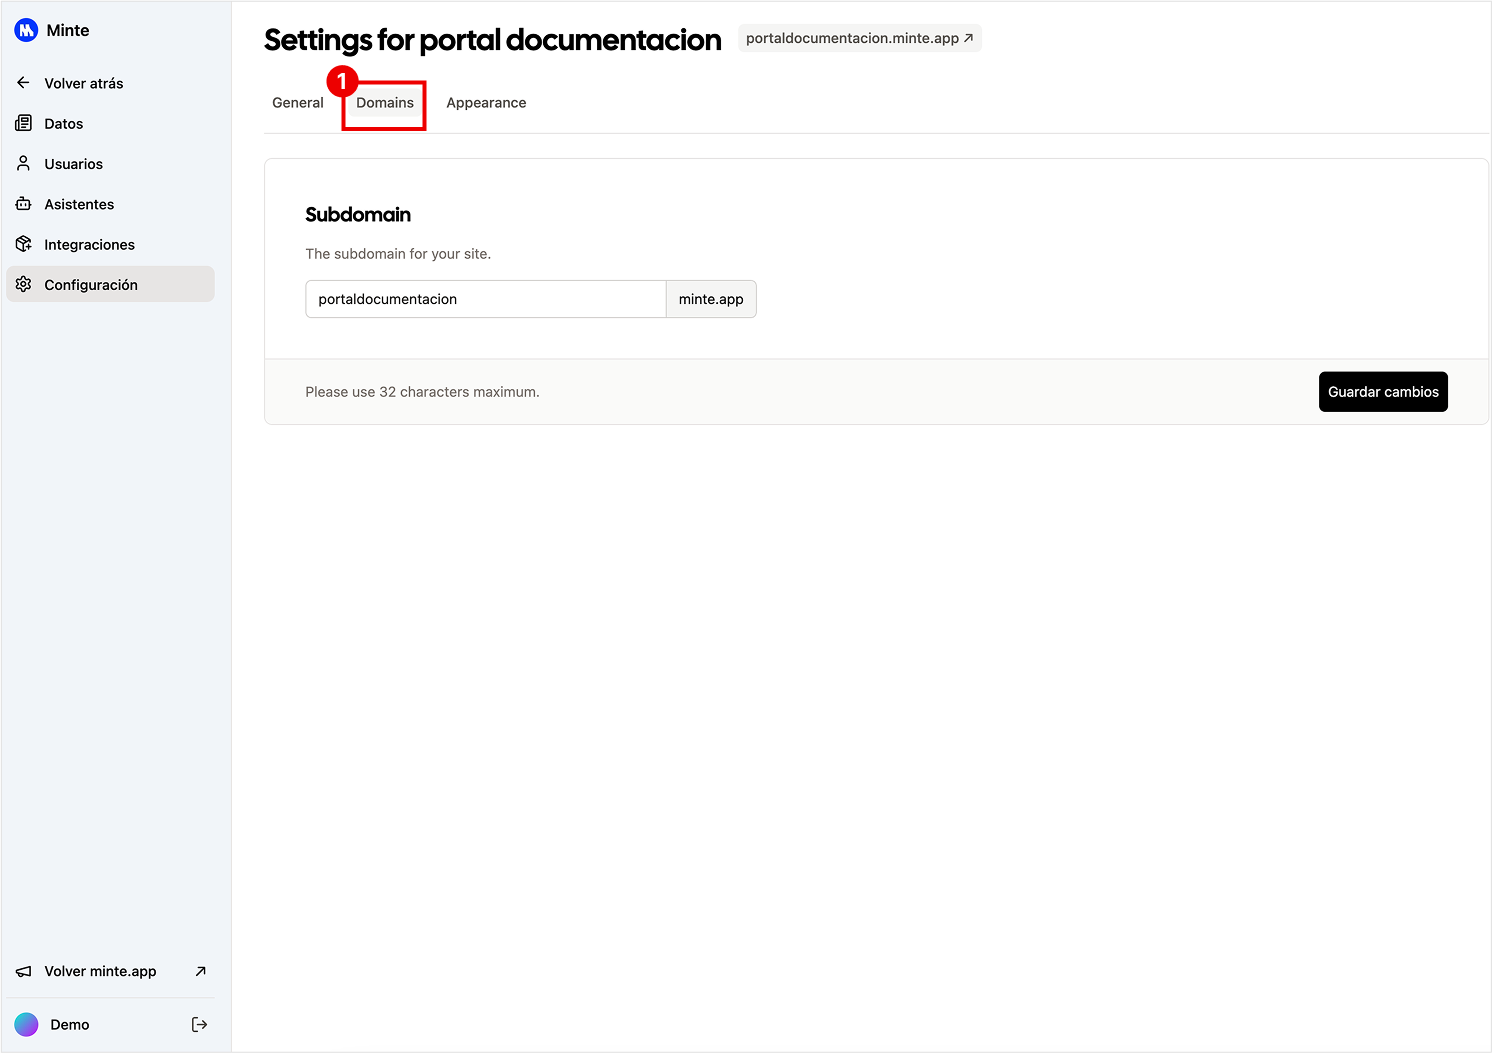
How to change portal settings
- From the general tab we can modify the name and description of the portal.
- We can also modify the portal's privacy in the following ways:
- Private (default)
- Public
- Without authentication
- With general 8-digit PIN Code
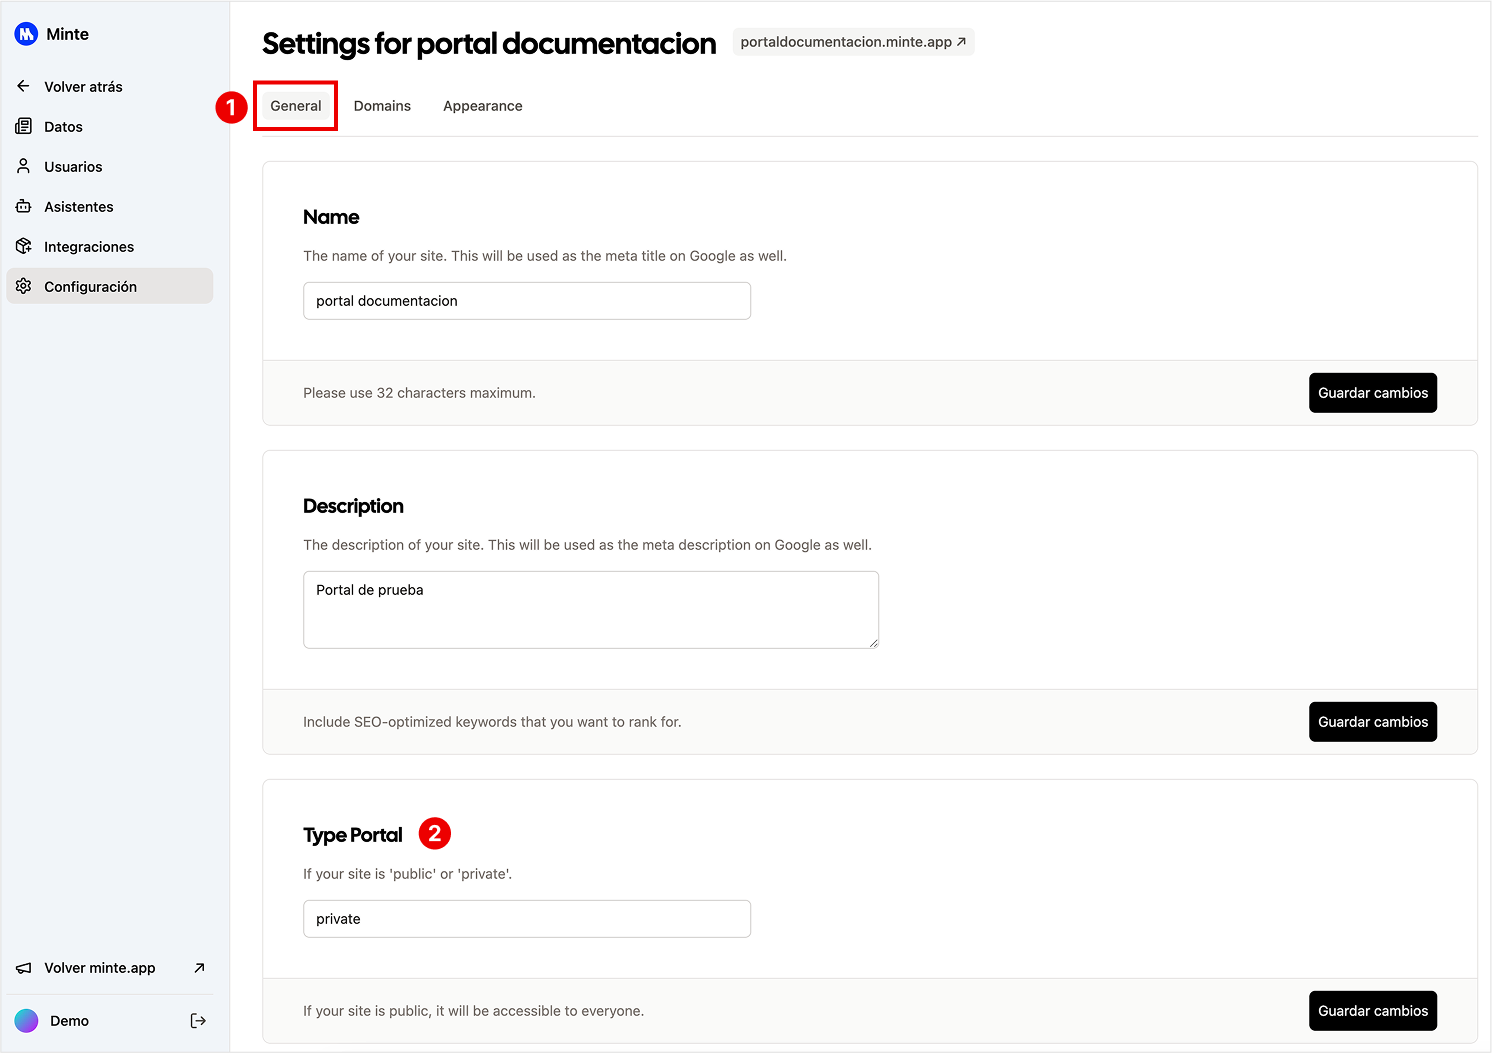
- We can specify our subdomain for the portal, which can be modified as many times as we need.
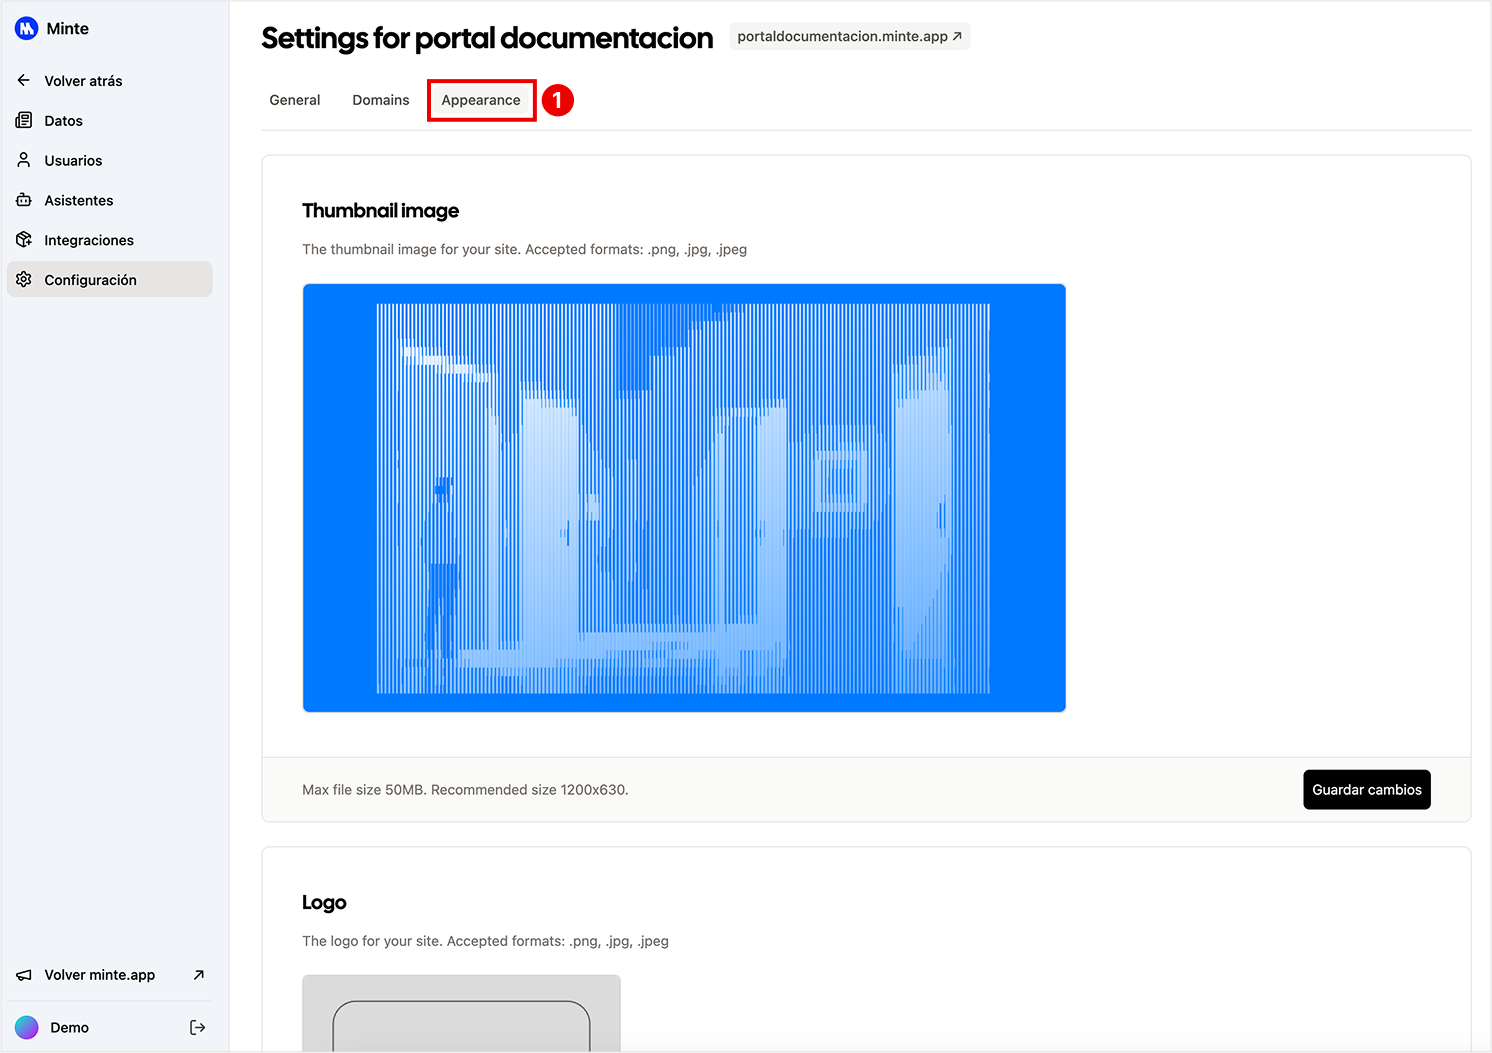
- We can modify the portal's appearance:
- Portal image.
- Portal logo.
- 404 Message text.